


Hello!
I think I've mentioned it in every post thus far, but can I just say how much I love going to school at Paul Mitchell? I literally can't stop talking about it here at home. I've made an effort to tone down my feelings, but I can't! I'm still totally excited. I never want to have a moment where I'm less than 100% sure of my choice for my education, and the upbeat atmosphere I get to be a part of everyday helps me stay positive, too.
So, last week was my crash course in spa services and makeup applications. I was thrilled beyond belief to finally get the low-down on makeup. I was also lucky because I have a teacher who is really passionate about makeup and so listening to her and seeing the energy she exudes when speaking about cosmetics really inspired me to give this part of my education my total focus.
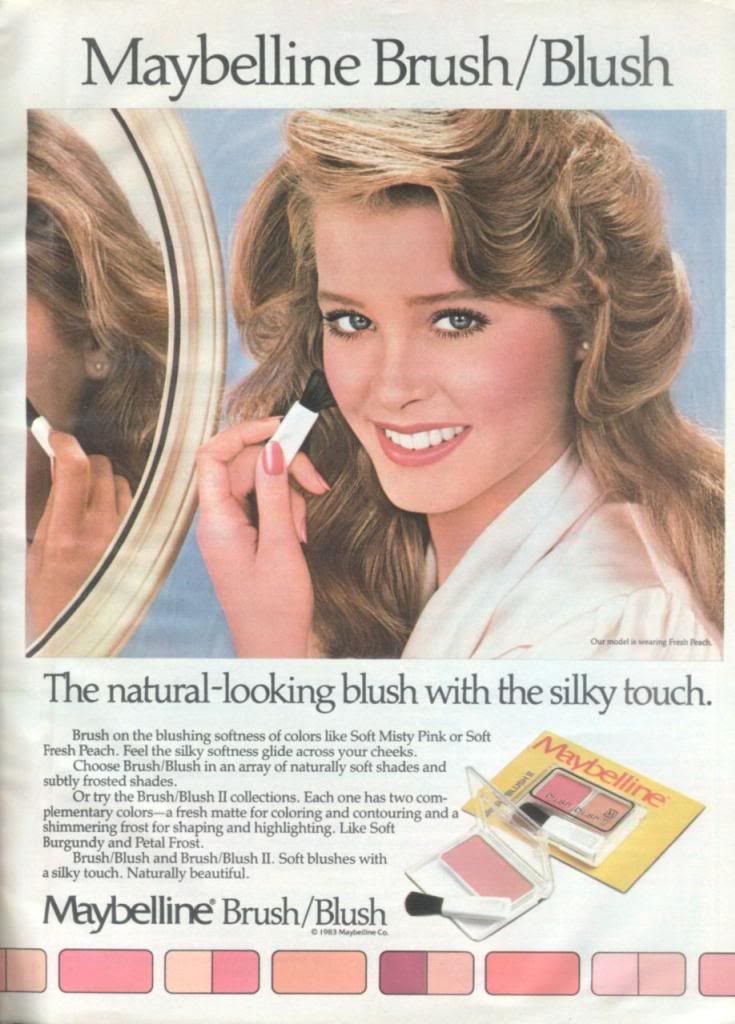
Honestly, I've barely scratched the surface! Makeup can be so much more than your basic eyeliner/mascara/foundation combo, but it doesn't have to be difficult. What really stood out this week for me was when my instructor got out her tools and the cosmetics she swears by. I think my heart grew 10 sizes when I saw that she uses Great Lash mascara on her clients. That has been my all-time favorite brand and it's one that I always go back to after I've tried out the newbies on the market. It was amazing to see a professional makeup artist use a brand that we can all afford. On that same note, a good amount of her makeup brushes were none other than the e.l.f brand, proving that you don't have to rob yourself blind to apply makeup like the pros.
During the week I learned about the different face shapes. There are seven: oval, round, square, rectangle, triangle, heart, and diamond! Something new I learned is how to properly place blush or bronzer on each one. I've actually started to wear blush myself because, yeah, I know where to place it now! I also know how to correctly line a lip, whether they're small, average, or full. Overall, I still like to keep my makeup simple and classic, but I'm definitely interested in learning more about stage makeup.
In addition to makeup applications, we learned how to give an eyebrow wax, a manicure, and a pedicure. This portion was a bit dodgy for me because feet sort of freak me out, but I'm trying my best to get over it!
xo, Becca
Tidbits from this week:
Favorite new exfoliator: Sugar. True story. I take a bowl with me when I shower, and it makes my skin super soft!
Favorite nail polish: Plumberry by Essie. The color reminds me of a strawberry!
Makeup technique of the week: When you line your lips, here are a few tips to consider. If you have small lips, you'll want to line your lips on the outside of what we like to call the vermillion border, which is basically the edge of your lips. If you have average sized lips, apply your liner directly on the vermillion border. And if you're like me and you have full lips, before lining, apply concealer to your lips and make them disappear; then apply your liner on the inside of the vermillion border. Voila! Small lips appear fuller, average lips remain lovely, and fuller lips appear slightly smaller and more proportionate with the eyes.
photo credit: twitchery via photopin cc
No comments:
Post a Comment